Banking
Bank Integrations with Yodlee
For enterprise users on our hosted platform, we have integrated with Yodlee, a leading data aggregration platform.
The Yodlee integration links primarily with most of the major US banks, allowing you to link your bank accounts with Invoice Ninja to import your bank transactions for reconciliation.
Credit Card Integrations with GoCardless
We have integrated with GoCardless, a payments integration platform.
The GoCardless integration allows you to link a credit card account from primarily with most of the major EU banks to import transactions for reconciliation.
Connecting your accounts

Settings > Credit Cards & Banks > Connect
Clicking on the connect button with open a new browser window which connects to Yodlee, from this screen you are able to search for your bank and then log into your Bank Account

Once you have successfully authenticated with your bank, you'll be able to select the accounts you wish to link to Invoice Ninja, when this is completed, click save & finish.
Yodlee will give you the opportunity to add more bank accounts from different banks prior to exiting.

Tip: If you wish for Invoice Ninja to automatically sync your transaction, turn on Auto Sync. This can be done for each individual Bank Account.
Manually Importing Bank Statements
If you prefer to import your data using .csv files from your bank, you can upload these directly into Invoice Ninja.
You can import these from:
Transactions > Import
![]()
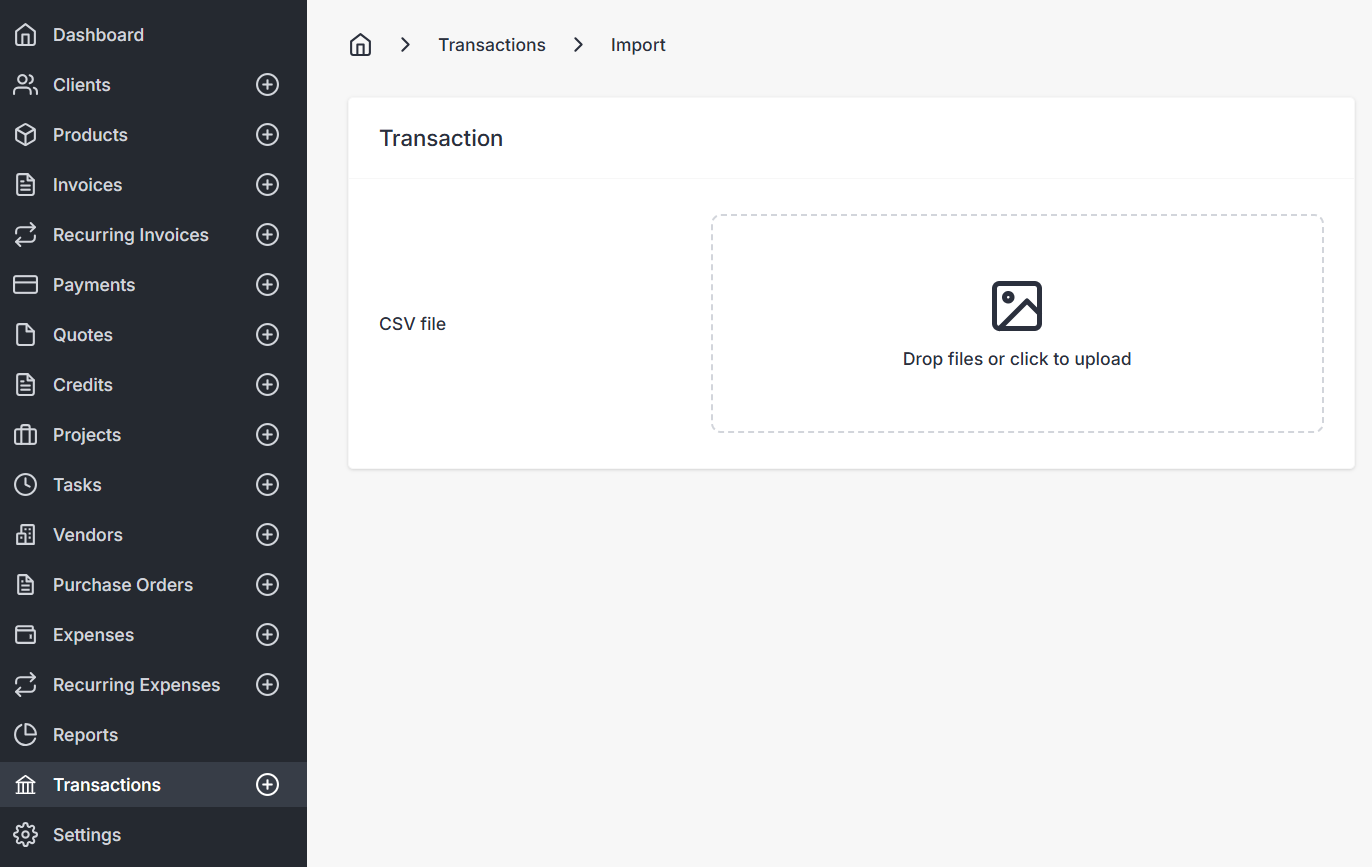
You'll need to have created a Bank Account prior to this, so the transactions are linked to the correct bank account.
Transactions
Once data has been imported into Invoice Ninja, this can be viewed from the Transactions tab in the sidebar.

For more details on Transactions, see Transactions
Bank Rules
To improve your efficiency, you can build a ruleset to match your incoming transactions.
Using a rule set will allow Invoice Ninja to performing the matching and/or conversion of transactions for you.

Create a Bank Transaction Rule
To create a bank rule navigate to
Settings > Credit Cards & Banks > Rules
You can edit and create rules from this page, simply click on a rule, or the create button to create a new bank rule.

When creating a rule there are a number of options to consider:
- Name | The name of the rule
- Match All Rules | This settings means that for the rule to match, all of the subrules must be present for the transaction to be matched or converted.
- Auto Convert | Boolean flag which defines what to do when a transaction rule matches. If set ON the transaction will convert to an invoice or expense.
- Rules | contains one or many configurable rules.
- Vendor | The vendor selector. When a vendor is selected, this vendor will be assigned to the transaction expense.
- Category | The expense category selector. When a categorty is selected, this category will be assigned to the transaction expense.

When creating a rule there are a number of options available.
- Field | The field to search on (Description or Amount)
- Operator - Description | when matching text there are several matching options available
- Contains | The description must contain the value assigned
- Starts with | The description text must start with the value assigned
- Is | The description must exactly match
- Is Empty | The description must be empty
- Operator - Amount | when matching on the transaction amount there are several options available
<| The amount must be less than the value<=| The amount must be less than or equal to the value=| The amount must be equal to the value>| The amount must be greater than the value>=| The amount must be greater than or equal to the value
- Value | The user assigned value used to compare against.