Credits
A credit note is a document sent to the client, notifying that a credit has been provided to their account. Credit notes are used to issue redeemable credits for a specific Product or for a flat rate. Credits can be applied to invoices as a payment.
Note that choosing the right Payment Settings is vital to make credits intuitive and useful to your customers, see Payment Settings.
Viewing a Credit
Simply select a credit number from the list to see its details.
The credit view/edit screen is almost the same as with invoices or quotes.
Credit More Actions Dropdown
The More Actions dropdown has many frequently used options:
- View PDF: View the PDF version of the credit
- Print PDF: Brings up the printer dialog to print the credit PDF
- Download PDF: Downloads the credit PDF
- Schedule: Schedule the credit to be sent at a later date/time
- Client Portal: View the credit as the client in the client portal
- Apply Credit: Apply the credit
- This brings up the Enter Payment screen applying the credit amount to the selected client.
- Run Template: Brings up the screen to run the credit as a Template by selecting a design (Advanced feature)
- Clone to Credit: clone the credit
- Clone to Other: Lets you choose whether to clone to an Invoice, Quote, Recurring Invoice, or Purchase Order (the items from the credit will be copied)
- Archive
- Delete
Creating or Editing a Credit
There are several fields available when filling a credit, and the view when creating or editing a credit is broken down a little differently depending on whether you are viewing things with the mobile layout, or desktop layout. In the desktop layout, all of the panels described below are presented at the same time on one big screen and laid out a little differently.
You can also create a credit directly from a invoice. For instance if you need to create a credit for an entire invoice, instead of retyping the entire document you can clone the invoice to a credit an example is included in the video below:
Here are some options you will see when creating or editing a credit:
Client
You must select a client from the list to apply your credit to.
Contacts

Here you see the contacts from your client that are marked as included in the credit.
The checkbox next to each client defines whether they will receive the email notification. Contacts with the option Add to Invoices selected in Client Edit, will automatically be checked to receive emails.
Also available are links to the client portal for each respective contact included.
Credit Details
- Credit Date - Automatically generated with today's date, is simply the date of the credit.
- Valid Until - Optionally, you may specify an end date that the credit is valid until, to limit how long you will honor it.
- Credit Number - The credit number is auto generated as per Settings > Advanced Settings > Generated Numbers
- PO # - Optionally, typically for when you client has a product order number to provide for you, for their own recordkeeping purposes.
- Discount - Enter a discount amount to apply to the credit, either as a percentage, or a flat rate. Usually only used if the credit is cloned from an invoice.
Items
This is the main part of the credit. You see a list of the line items included on the credit, similar to an invoice. You can add Products, Tasks, or Expenses to the credit to credit your client for. Each item on the list will have these fields available:
- Product - The name of the product, task, or expense line item being applied.
- Description - A description of the line item. Descriptions can include HTML code, or Markdown code formatting (When enabled under Settings > Account Management).
- Unit Cost - The cost of a single product or expense, or the hourly rate of a task for the line item.
- Quantity - The number of products, expenses, or billable hours for a task, to be multiplied by the unit cost of that line item.
Bottom Tabs

Public Notes
Any text notes to add detail or context to the credit for you and your client. A good spot for a reason for the credit.
Private Notes
Private text notes, not printed on the credit PDF or viewable by the client. These notes can only be seen by users of the admin portal.
Terms
Describe any terms or conditions for your client, as they relate to the credit, and optionally Save as default terms.
Footer
Any text notes to be included at the bottom of the credit. A good spot for less important disclaimers. Optionally Save as default footer.
Documents
Upload pictures or documents to your credit, to include for your client. Uploaded files can be viewed and accessed by the client through the client portal.
Settings
The Settings panel includes some additional options for the credit:
- Project - Optionally link the credit to a Project
- User - Optionally change the user who is marked as creator of the credit. The User option can be used in the reports for tracking, but can also be used to give a specific user permission to view/edit an individual record.
- Exchange Rate - Optionally, for when your client record has another currency than your own as their default, you will be able to manually specify the exchange rate to automatically calculate what the total will be in their own default currency.
- Vendor - Optionally assign a Vendor to the credit
- Inclusive Taxes - When enabled, credit tax will be marked as inclusive.
- Design - Choose a template design from one of the premade templates, or one of your own custom designs. You can customize designs under Settings>Invoice Design
Applying a Credit
A credit is an amount on the customer's account that can be substracted from due invoice balances.
After selecting Apply Credit, you will be taken to the payment entry screen with the client pre-selected and credit total amount entered. You will need to select one or more of the client's invoices to apply the credit to and save the payment.
Lifecycle of a credit
Draft
The Draft status is the first status in the lifecycle of a credit. In this status, changes can be made to the credit and the credit is hidden completely from the client. Draft credits are inactive until either emailed to the client or marked as sent.
Once a draft credit has been emailed/marked as sent its status cannot be changed back to draft.
Sent
A credit is marked as sent when it has been emailed to the client or marked as Sent in the admin panel.
Note - A credit cannot be applied to an invoice, and does not actually get linked to the client until after it is marked as Sent.
Partial
A credit is marked with Partial when some of the credit has been applied to an invoice, but some still remains. A credit marked Partial will show the remaining credit balance available in the overview panel.
Note - There is no way to refund a credit payment that has been applied to an invoice. The only way to "return" a credit that has been applied, is to Reverse an invoice. If a payment and a credit are applied to an invoice, and you want to refund the amount paid, you should refund the payment first, then reverse the invoice after. When you reverse an invoice, the remaining balance paid whether through a credit, or a payment, is converted into a new credit.
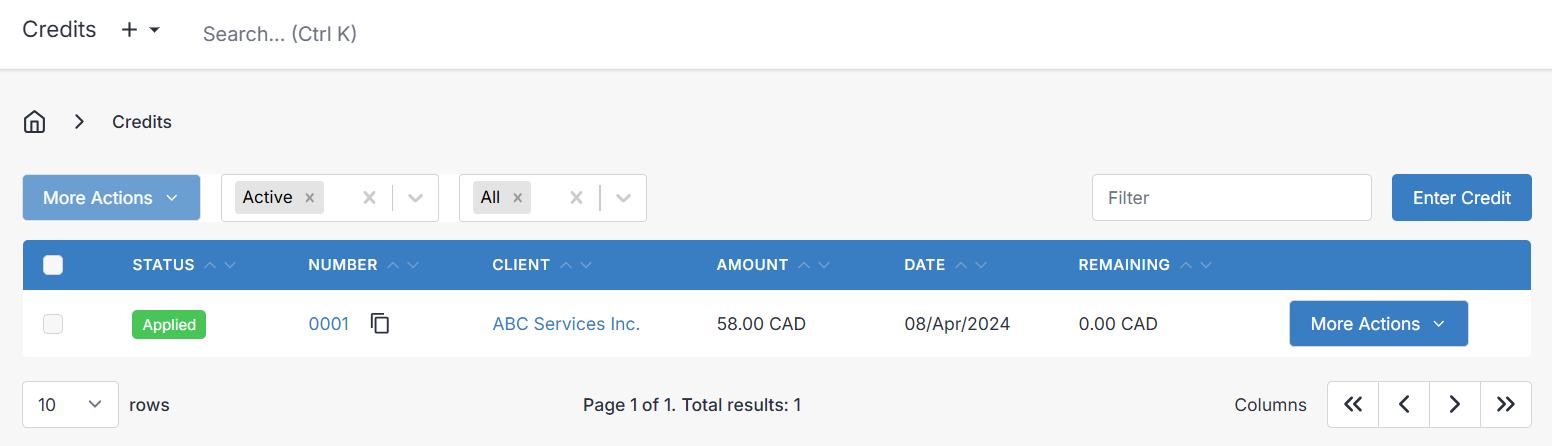
Applied
When a credit is marked Applied the full balance of the credit has been consumed and applied to one or more invoices on the client's account.
Deleted
What happens when a credit is deleted?
- Credit status set to deleted
- The credit number is appended with _deleted in order to allow reuse of credit numbers.
- If the credit was previously marked Partial the remaining credit balance will no longer be available to the customer, but it will not affect any existing payments that were already applied to the client's invoices.
Archived
Archiving a credit simply removes the credit from the credit list view. Archiving a credit keeps your list views clean and tidy.
When a credit is archived no further modifications can be made to the credit. To modify the credit you will need to Restore the credit first.
Restored
Restoring a credit from the archived or deleted state will set the credit back to its previous state prior to archiving.