Projects
A project is a container that groups everything you do for a client under one roof — the billable hours, the costs you incurred on their behalf, and the invoice that eventually goes out. The project record itself is deliberately simple; its value comes from what you hang off it. Once a few tasks and expenses are linked, you have a single place to see how much work has gone in, how much you've spent, and how close you are to the budget you agreed.
When to Use a Project
Not every piece of work needs a project. If you're sending a one-off invoice for a fixed amount — a product sale, a flat-fee service, a quick job — invoicing the client directly is faster and keeps your records uncluttered.
Projects start to earn their keep when:
- Work is tracked by the hour. A project gives your tasks a default Task Rate, so every new task for that engagement inherits the right hourly rate without you having to remember it.
- You need to watch a budget. Set Budgeted Hours up front and the project overview shows total logged hours against budget at a glance — useful for fixed-scope retainers, capped engagements, and internal accountability.
- Costs accumulate over time. Agency and freelance work often involves out-of-pocket expenses — stock photography, contractor invoices, travel. Linking expenses to a project keeps them bundled with the work they belong to, so nothing is forgotten at billing time.
- You want one user accountable. Assigning a User to the project makes it clear who owns delivery, which matters as soon as a team gets past one or two people.
- You'll invoice in stages or at the end. When several tasks and several weeks sit between "start" and "send invoice", the project is what ties it all together.
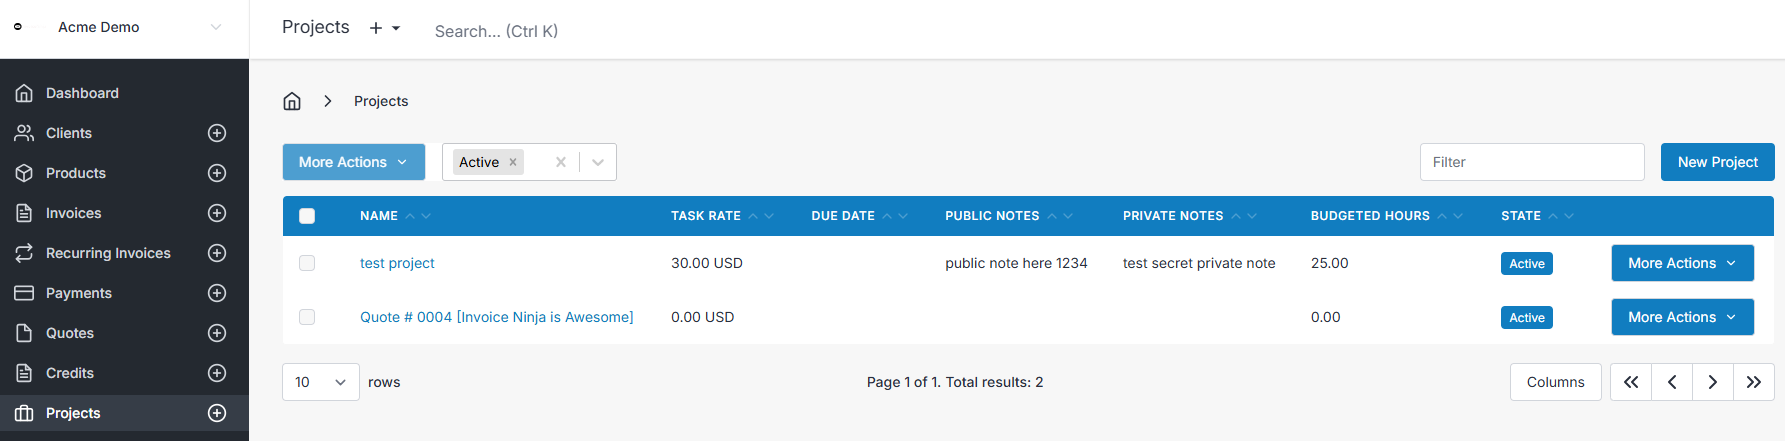
Viewing a Project
Selecting any project from the Projects list opens its overview.
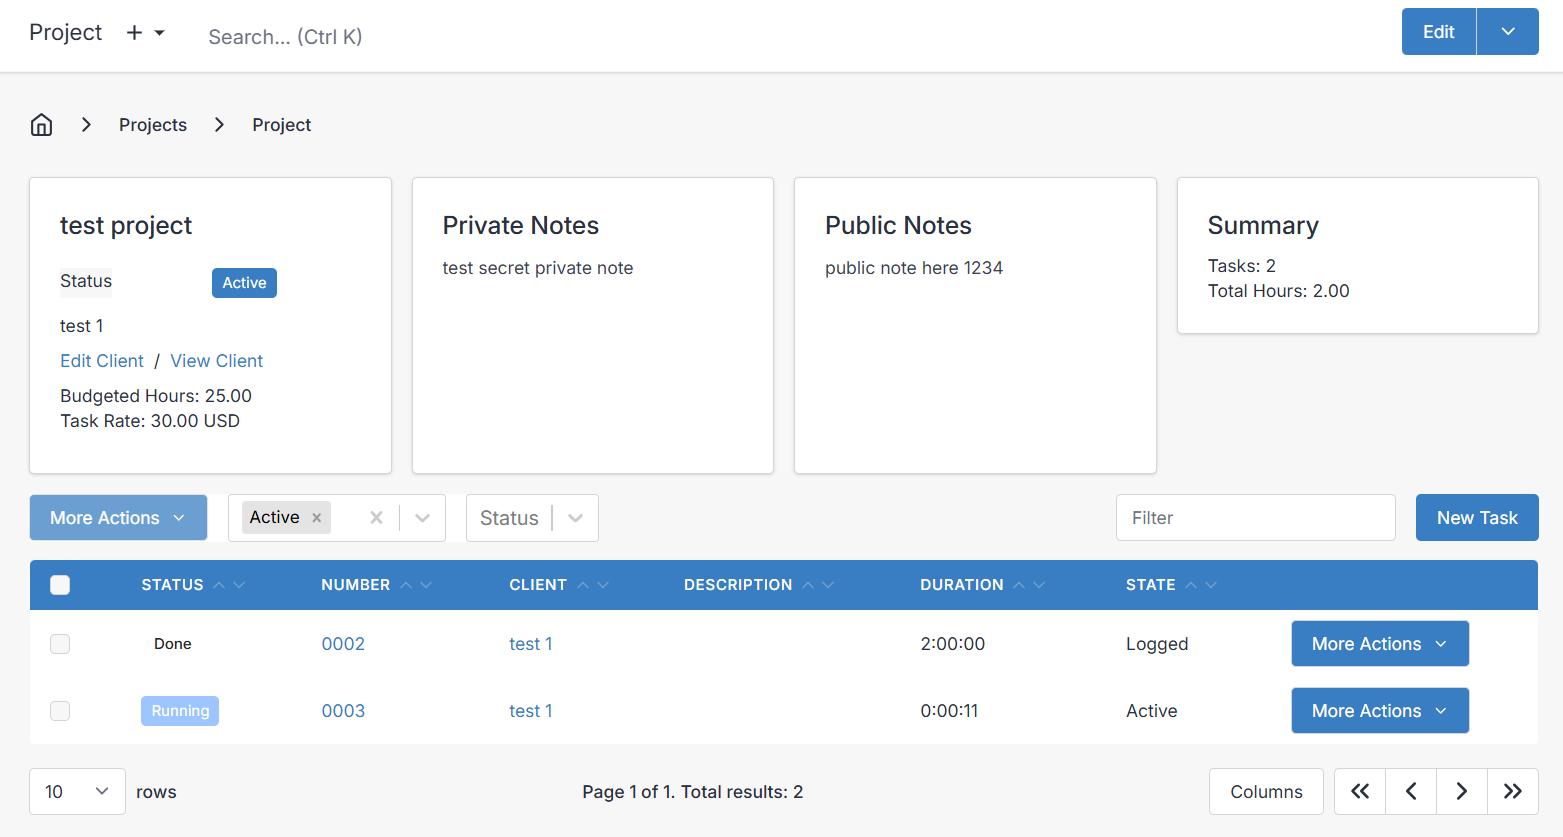
The header shows the Total hours logged and the Budgeted hours you set, so progress against plan is visible immediately. You'll also see the assigned client and user, the number of linked tasks and expenses, the due date, and the default task rate. Public and private notes sit alongside, each with its own icon.
Any expenses linked to the project appear as clickable links, making it easy to jump from the project into the underlying cost records:
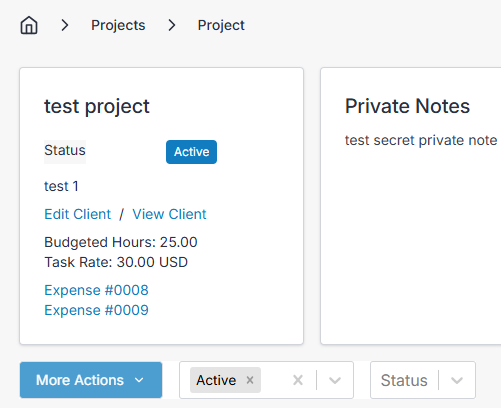
The dropdown at the top-right is where the day-to-day actions live — invoice the project, clone it, run it as a template for similar future work, or archive and delete.
![]()
Tasks
Above the tasks table, New Task creates a task that's already wired up to this project, which saves the usual round-trip of opening a task and hunting for the right project in the dropdown. Invoice Project at the bottom takes every unbilled task attached to the project and drops it onto a fresh invoice for the client.
Each row has a More Actions menu for task-level controls:
For time tracking and task statuses, see Tasks.
Creating and Editing a Project
Creating a project is quick — most of the value comes later, from what you attach to it. The fields are:
- Project Name — The name of the engagement. It appears in the line-item description of the first task when you invoice the project, so pick something the client will recognise.
- Project Number — Generated automatically for your own record-keeping.
- Client — The client this work is for. A project can only belong to one client.
- User — The team member accountable for the project.
- Due Date — The target finish date. Helpful for keeping an eye on what's coming up.
- Budgeted Hours — Your estimate or agreed cap on billable hours. Shown next to total logged hours on the overview.
- Task Rate — The default hourly rate for new tasks on this project. Individual tasks can override it if the rate varies by role or phase.
- Public Notes — Visible to the client on relevant documents; good for scope summaries.
- Private Notes — Internal only; good for reminders and context for colleagues.
Documents
Files you attach under the project's Documents tab — briefs, signed scopes, design references — are available to the client through the client portal under Documents > Projects. Keep that in mind before uploading anything internal.
Invoicing a Project
When the work is done (or you've hit a milestone worth billing), use Invoice Project from the project's Edit or More Actions menu.
![]()
The new invoice is pre-filled with the project's client, and every unbilled task rolls onto the invoice as a line item. Review, adjust the wording if needed, and send.
The ## and <div> that appear in task descriptions are intentional — they carry CSS formatting through to the PDF.
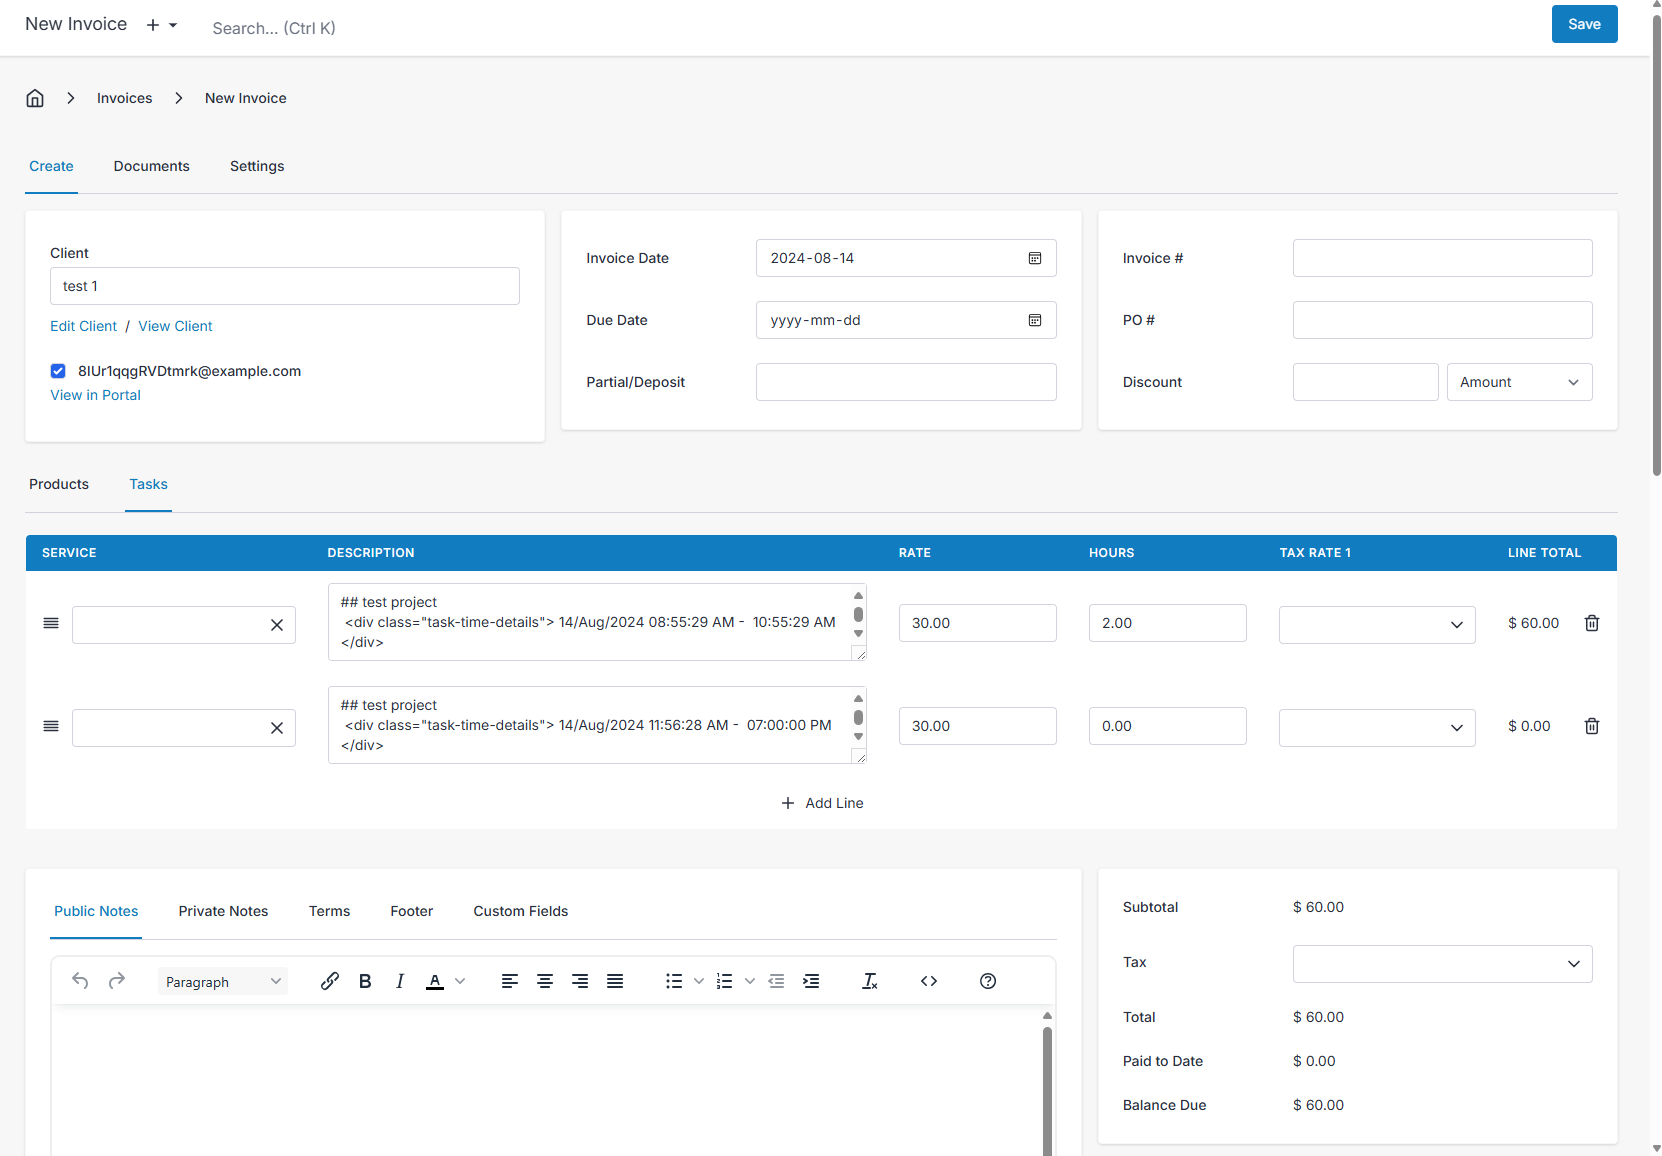
One thing to watch: expenses linked to a project are not automatically added to the generated invoice. If you're billing the client for project expenses, mark those expenses as billable on the expense record and add them to the invoice manually, or include them as line items before sending.