Credits
A credit is a balance owed to a client that sits on their account until you apply it against an invoice. You'll reach for a credit whenever you need to acknowledge money a client has effectively "banked" with you — a refund issued as store credit, a goodwill gesture after a service issue, an overpayment you're holding for next month's invoice, or a voucher for a specific product or flat amount.
Because credits live on the client record (not on a single invoice), the same credit can be spread across several future invoices, or consumed in one go. They behave like a payment when applied, which means they also show up in your payment history and reporting.
Before you start issuing credits, it's worth reviewing your Payment Settings — options there control how credits are offered to clients at checkout and whether they're applied automatically, which makes a real difference to how intuitive credits feel for your customers.
Viewing a Credit
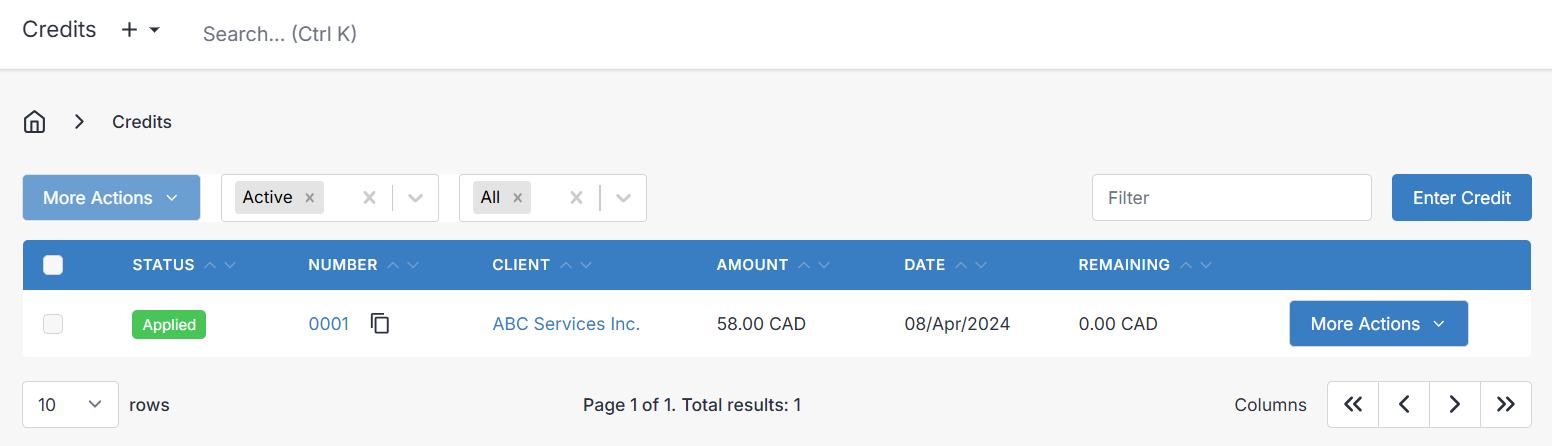
Select a credit number from the list to open it. The view and edit screens follow the same layout as Invoices and Quotes, so once you're comfortable with one, the others feel familiar.
Credit More Actions Dropdown
The More Actions dropdown groups the things you're most likely to do with an existing credit:
- View PDF — open the PDF version of the credit
- Print PDF — open the print dialog for the credit PDF
- Download PDF — save the PDF locally
- Schedule — queue the credit to be sent at a later date and time
- Client Portal — see the credit exactly as the client sees it in the Client Portal
- Apply Credit — open the payment entry screen pre-filled with this credit's amount so you can allocate it to one or more of the client's invoices
- Run Template — render the credit through a custom design (advanced — see Templates)
- Clone to Credit — duplicate the credit
- Clone to Other — copy the line items into a new Invoice, Quote, Recurring Invoice, or Purchase Order
- Archive
- Delete
Creating or Editing a Credit
There are two common paths to a new credit. The first is creating one from scratch — useful when the credit isn't tied to a specific invoice (for example, a goodwill gesture or a pre-paid retainer). The layout you see depends on your device: on desktop every panel is presented side-by-side on a single screen, while on mobile the same fields are grouped into tabs.
The second path is cloning an existing invoice into a credit. This is the fastest way to reverse an entire invoice — rather than retyping every line, use Clone to Credit from the invoice and the items, quantities, and pricing come across automatically.
The sections below describe the fields you'll see on the create/edit screen.
Client
Every credit must be attached to a client, since a credit is a balance on that client's account. Pick the client from the list.
Contacts

Each of the client's contacts is listed here. The checkbox beside each contact determines whether they'll receive the email notification when the credit is sent — contacts marked Add to Invoices on the client record are checked by default. Portal links for each contact are shown alongside, so you can jump straight into the customer's view if you need to.
Credit Details
- Credit Date — defaults to today; the effective date of the credit.
- Valid Until — an optional expiry date, useful if you only want to honor the credit for a limited period.
- Credit Number — generated automatically according to the pattern under Settings > Advanced Settings > Generated Numbers.
- PO # — optional; handy when your client wants their own purchase order reference recorded.
- Discount — a percentage or flat amount deducted from the credit total. Most often used when a credit is cloned from an invoice that already carried a discount.
Items
The items section is where the substance of the credit lives. It works just like the line items on an invoice — you can add Products, Tasks, or Expenses, and each row captures:
- Product — the name of the product, task, or expense line item.
- Description — free-form description. Supports HTML or Markdown formatting when Markdown is enabled under Settings > Account Management.
- Unit Cost — price per unit, or hourly rate for a task.
- Quantity — how many units (or hours) to multiply the unit cost by.
Bottom Tabs

The tabs along the bottom of the edit screen hold the surrounding context — notes, terms, documents, and advanced settings for the credit.
Public Notes
Notes visible to both you and your client on the credit PDF. This is the right place to record the reason for the credit so there's no confusion later.
Private Notes
Internal-only notes. These never appear on the PDF and aren't visible in the client portal — they're for users of the admin portal.
Terms
Any terms or conditions you want to attach to the credit. If you find yourself typing the same thing every time, use Save as default terms to have them pre-filled on future credits.
Footer
Text that prints at the bottom of the credit PDF — a good spot for disclaimers or fine print. Can also be saved as a default.
Documents
Attach files — contracts, photos, supporting paperwork — to the credit. Uploaded files are accessible to the client through the Client Portal.
Settings
A few less-common options that override company defaults for this specific credit:
- Project — link the credit to a Project.
- User — change the user recorded as the creator. Useful for reporting and for scoping record-level permissions to a specific user.
- Exchange Rate — when the client's currency differs from your company currency, manually set the rate used to convert the total.
- Vendor — optionally associate the credit with a Vendor.
- Inclusive Taxes — treat tax amounts as already included in the line prices rather than added on top.
- Design — pick one of the built-in templates or a custom design. Designs are managed under Settings > Invoice Design.
Applying a Credit
Applying a credit is how the balance sitting on the client's account actually gets used. Choosing Apply Credit opens the payment entry screen with the client and credit amount already filled in — all you have to do is pick the invoice (or invoices) to apply the credit against and save. The credit behaves like a payment from that point on, which is why it appears in your Payments list too.
Lifecycle of a Credit
A credit moves through a handful of statuses over its life. Each one tells you at a glance whether the credit is still editable, whether any balance remains, and whether it's active on the client's account.
Draft
Draft is where every credit begins. While a credit is in Draft you can edit it freely, and it's completely invisible to the client. Nothing is linked to the client's account yet — a draft becomes "real" only once it's emailed or marked as sent.
Once a draft credit has been emailed or marked as sent, its status cannot be rolled back to Draft.
Sent
A credit is marked Sent once you've emailed it or manually marked it as sent in the admin portal. This is the point at which the credit is actually attached to the client and becomes eligible to apply against invoices — before that, it has no effect on any balance.
Partial
Partial means some of the credit has been used against one or more invoices, but a balance remains. The leftover amount is shown in the overview panel so you can see at a glance how much the client still has available.
There is no direct way to refund a credit that's already been applied to an invoice. To "return" an applied credit, you Reverse the invoice it was applied to — reversal converts any remaining paid balance (whether from a credit or a payment) back into a new credit on the client's account. If a mix of cash payment and credit was applied, refund the payment first and then reverse the invoice.
Applied
When the entire balance of the credit has been consumed across one or more invoices, the credit flips to Applied. There's nothing left to use.
Deleted
Deleting a credit:
- Sets the credit's status to deleted.
- Appends
_deletedto the credit number so the original number can be reused. - If the credit was Partial, removes the remaining balance from the client's account — but does not touch any amount that had already been applied to invoices.
This mirrors how deletion works elsewhere in the app (see the Archive vs Delete discussion in Clients): deletion is reversible via Restore, but it actively strips the record from reporting.
Archived
Archiving simply hides the credit from the default list view. It's a tidying action — balances and history are untouched — and it's the right choice when you want a clean workspace without affecting any of your reporting.
An archived credit cannot be modified. Restore it first if you need to make changes.
Restored
Restoring an archived or deleted credit returns it to whatever status it held beforehand, with its balance and history intact.