Transactions
The Transactions screen is where every line from your bank feed lands. It's the bridge between what your bank says happened and what Invoice Ninja knows about — deposits get matched to invoices and turned into payments, withdrawals get categorised as expenses, and anything that can't be matched automatically waits here for a quick review.
If you haven't connected a bank yet or set up matching rules, start with Banking — it covers the sync options (Yodlee, GoCardless, or CSV) and how rules work. This page focuses on the day-to-day: working through the list, reconciling what came in, and fixing up anything the rules missed.
Where Transactions Come From
Every row in the list originates from one of three places:
- An automatic bank sync through Yodlee or GoCardless, pulling fresh transactions on a schedule.
- A CSV file you exported from your bank and imported manually.
- A transaction you entered by hand from this screen — handy for cash movements or anything outside your connected accounts.
No matter the source, each transaction follows the same lifecycle and shows up in the same list.
The Transactions List
Transactions

The list is your reconciliation workspace. Filter by Bank Account when you're working through one account at a time, or by Status to zero in on what still needs attention. Each row shows the deposit or withdrawal amount, the date, the description as it came from the bank, and once a transaction has been converted, the linked invoice or expense.
Transaction Statuses
A transaction always sits in one of three states, and understanding the difference is the key to working the list efficiently:
- Unmatched — the transaction has just arrived and nothing has been linked to it yet. This is where everything starts.
- Matched — Invoice Ninja (usually via a bank rule) has identified the invoice, payment, or vendor this transaction relates to, but no financial record has been created yet. Think of it as a suggestion waiting for your confirmation.
- Converted — a real payment or expense record has been created from the transaction and linked back to it. Reconciliation for this line is complete.
Filtering by Unmatched is usually the fastest way to get through a session — those are the rows that still need a decision from you.
Matching Deposits to Invoices
When a deposit lands (money in), your job is to connect it to the invoice it pays. Click the transaction row and a side panel opens with matching options.

Pick the invoice or invoices this deposit covers and click Create Payment. Invoice Ninja creates a payment for the full transaction amount, applies it across the invoices you selected, and links everything together — the transaction, the payment, and the invoices now all reference one another. The status flips to Converted.
If a bank rule has already suggested a match, the invoice will be pre-selected when you open the panel. You just review and confirm.
Categorising Withdrawals as Expenses
Withdrawals (money out) work the same way, but the other direction. Click a withdrawal and the panel lets you assign a Vendor and an Expense Category.

Click Convert to Expense and Invoice Ninja creates an expense record using the transaction's amount, date, and description, then links the expense back to the transaction. See Expenses for more on what you can do with the resulting records.
If you'd rather work in bulk, tick the checkbox next to one or more withdrawals and choose Actions > Create Expense:


Creating a Transaction Manually
Sometimes you need a transaction that didn't come from a bank feed — a cash payment, a petty-cash withdrawal, or something you want to reconcile without waiting for the sync. Click New Transaction.

Choose Deposit for income or Withdrawal for an expense, then fill in the date, amount, currency, and the bank account it belongs to. If you include an invoice number in the description, Invoice Ninja will try to match it to the corresponding invoice automatically — the same logic used for synced transactions.
Importing a Bank Statement
If your bank isn't supported by the live integrations, or you'd rather not link an account, you can bring transactions in from a CSV export.
Transactions > Import
![]()
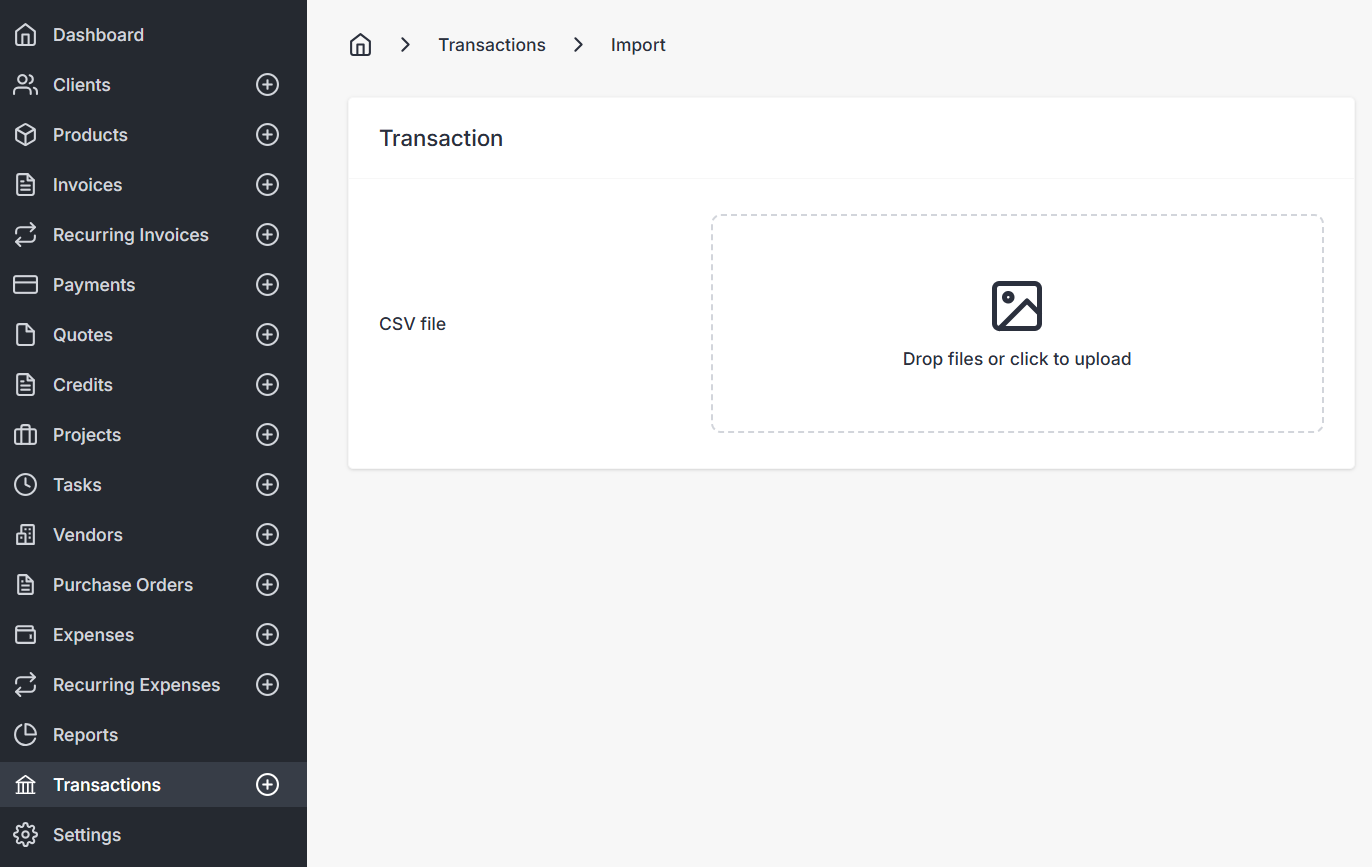
Create the bank account first under Settings > Credit Cards & Banks so the imported transactions have somewhere to land, then map the CSV columns (date, description, amount) to Invoice Ninja's fields during the import.
Reconciling Efficiently
A good reconciliation workflow looks roughly like this: let bank rules handle the transactions that follow predictable patterns (gateway payouts, recurring rent, utility bills), then filter the list to Unmatched and work through whatever's left by hand. Rules do the repetitive work; you make the judgement calls on the unusual ones.
If a transaction was imported in error, delete it from the list — the linked payment or expense, if one was created, stays put and can be removed separately.